|
This beauty was overall in great condition. The edge had some loose woven inserts that had to be replaced, but this project was really worth the effort. Staples stabilizer was applied around the entire border. Minimal center quilting and continuous curve border provide an inexpensive finish. Binding is Moda's Green Apple Bella Solid.
2 Comments
You can imagine how concerned I was when I realized every maroon piece in each block of my multi-state virtual bee group quilt had bled onto the pristine white background fabric during washing! Since it was for me and I used scrap fabrics, I had not bothered to pre-wash before mailing fabric bundles to our group. The t-shirt quilt images are from a customer who also didn't prewash and used an Aggie maroon backing fabric which bled onto the front white and yellow t-shirts. The solution: Clorox All Fabric Stain Remover and Color Brightener. I have a top load washer, and I fill it with water and pour in about 2 capfuls of Clorox All Fabric Stain Remover (I know it's much more than the directions say to use). Then I allow the quilt to soak at least over night (longer if I don't see the desired results). To date, this product has never failed to work wonders for me. Foxtail's customer was also happy to see there was a remedy for her daughter-in-law's new t-shirt quilt, which she only soaked for about 4 hours! Of course with all that product in the wash, you'll want to give it a thorough rinsing! I have used Shout Color Catchers when I do mix fabrics and pre-wash, but Clorox for Colors is my go to remedy for quilts that are finished and have fabrics that bled! I'm sure it's a great idea to prewash with Retayne (color fixative that helps stabilize dyes) and Synthrapol (removes and suspends excess dye to prevent staining other fabrics), but failing that, at least there is an easy remedy that has proven to be very reliable. I've never used this technique on vintage quilts and no one can vouch for how older fabrics may hold up. Also, I soak clean quilts. My washer has an agitator, and I never turn it on agitate with quilts because, of course, they're extremely heavy when wet and the fabric can pull and/or tear. 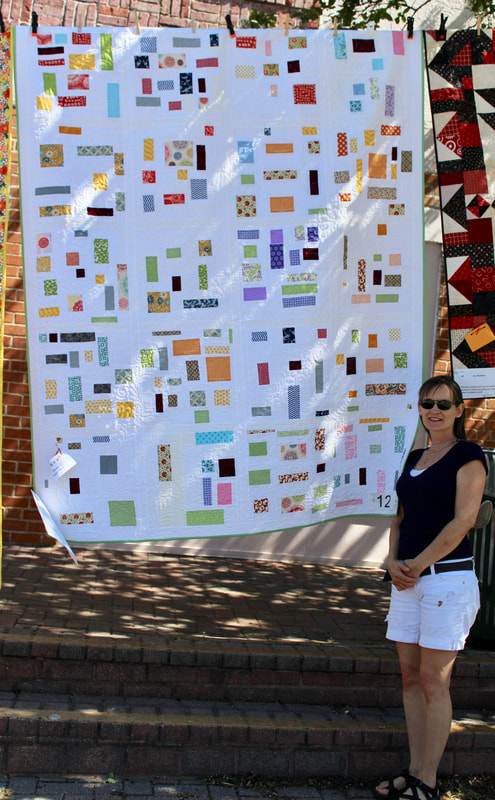 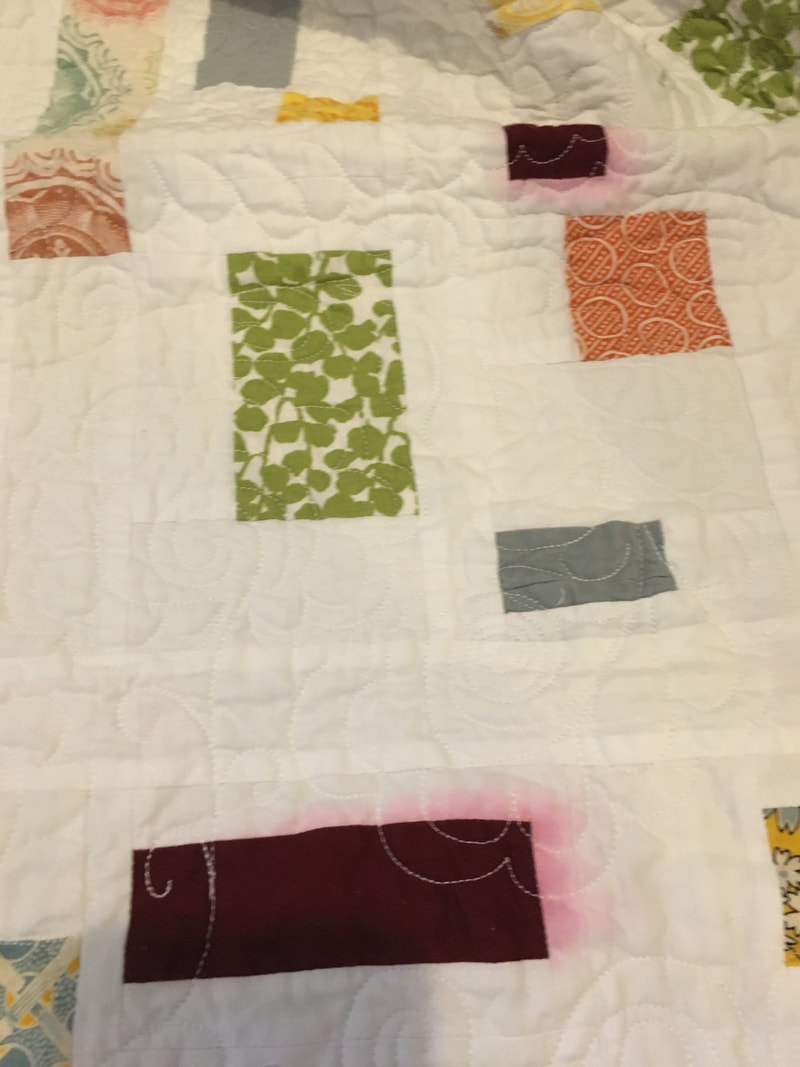 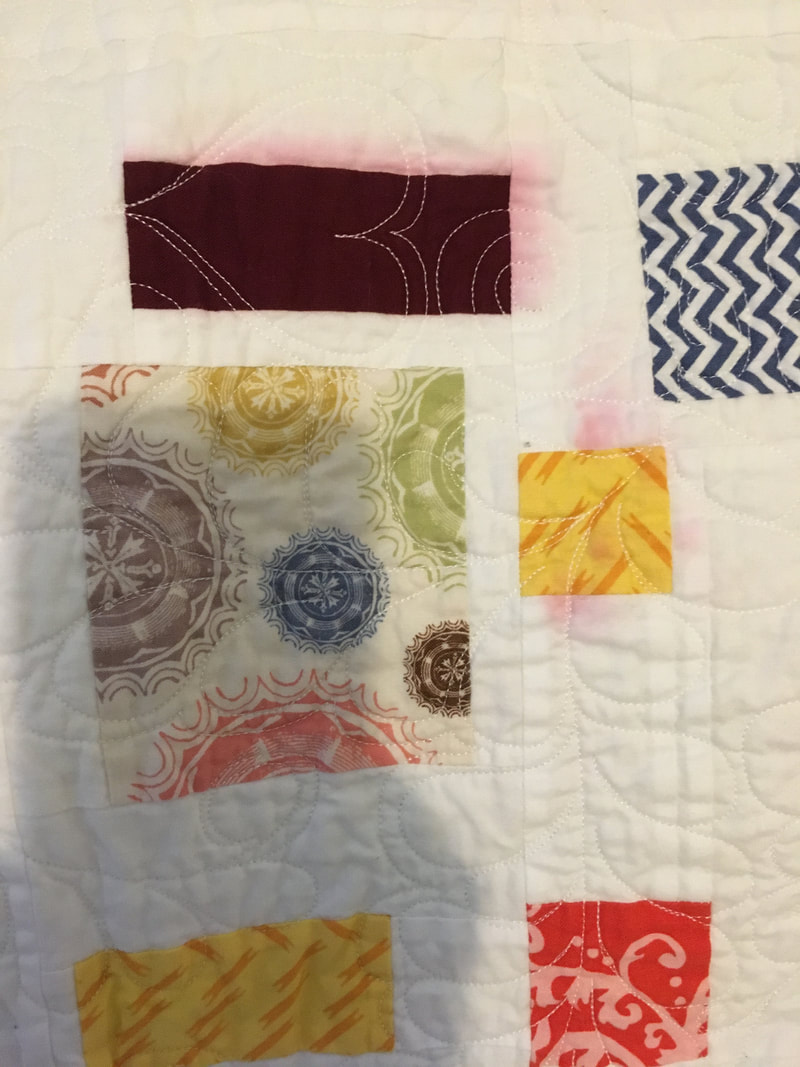 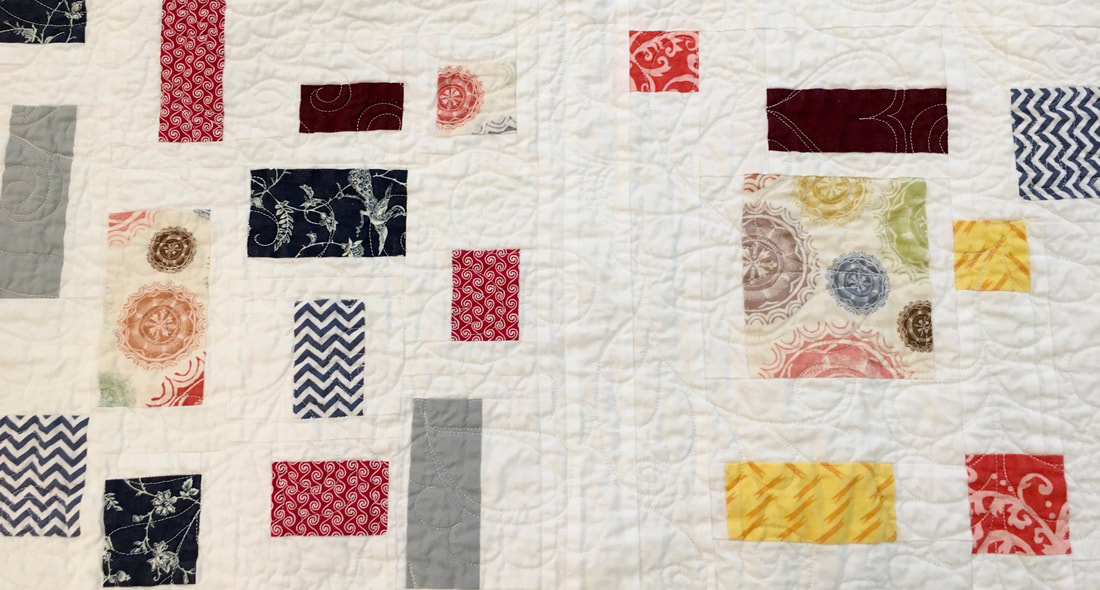 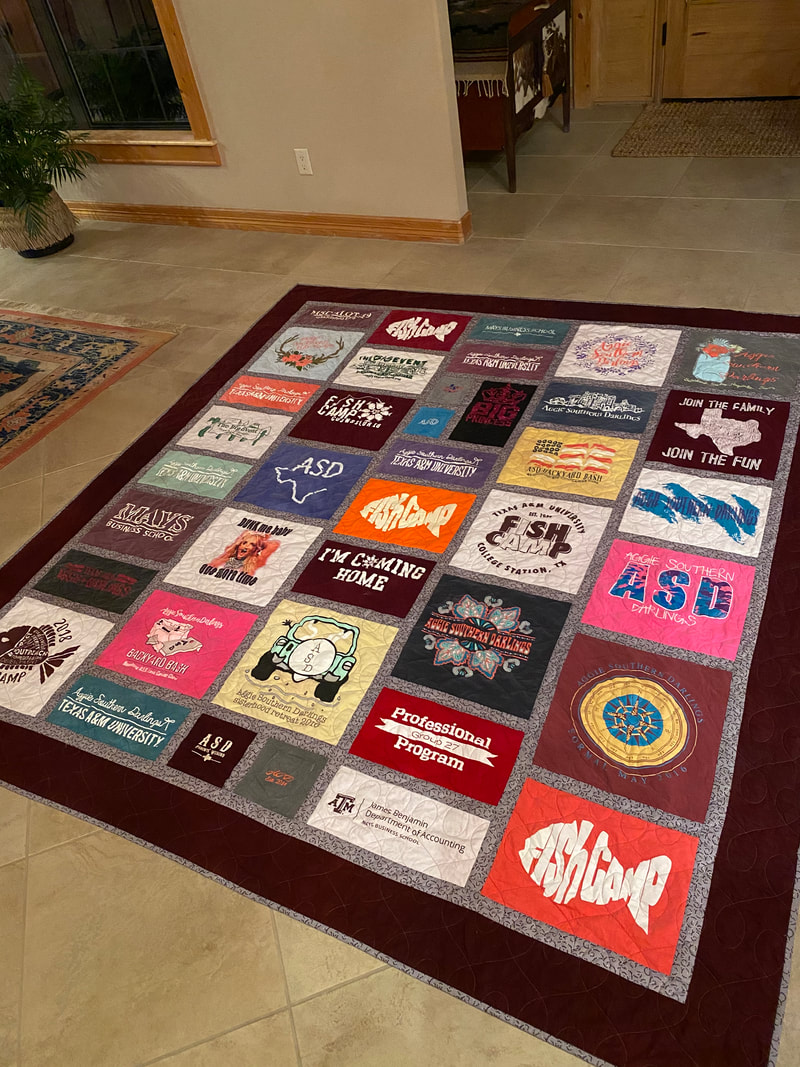 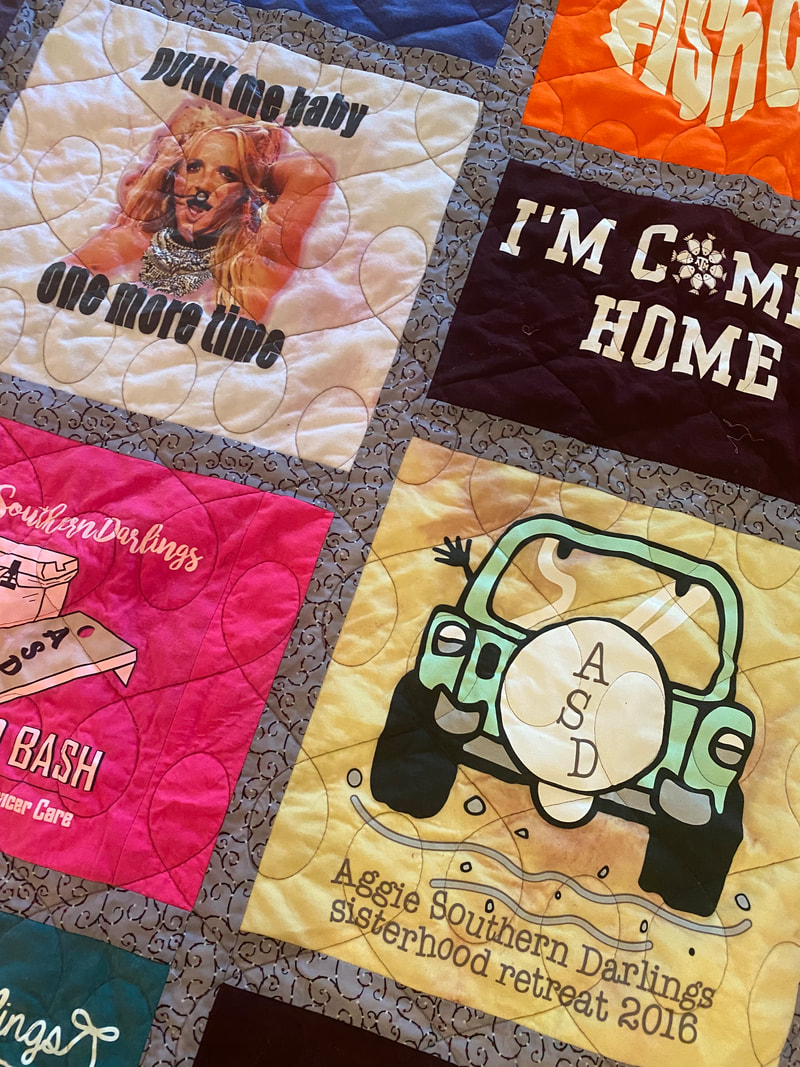 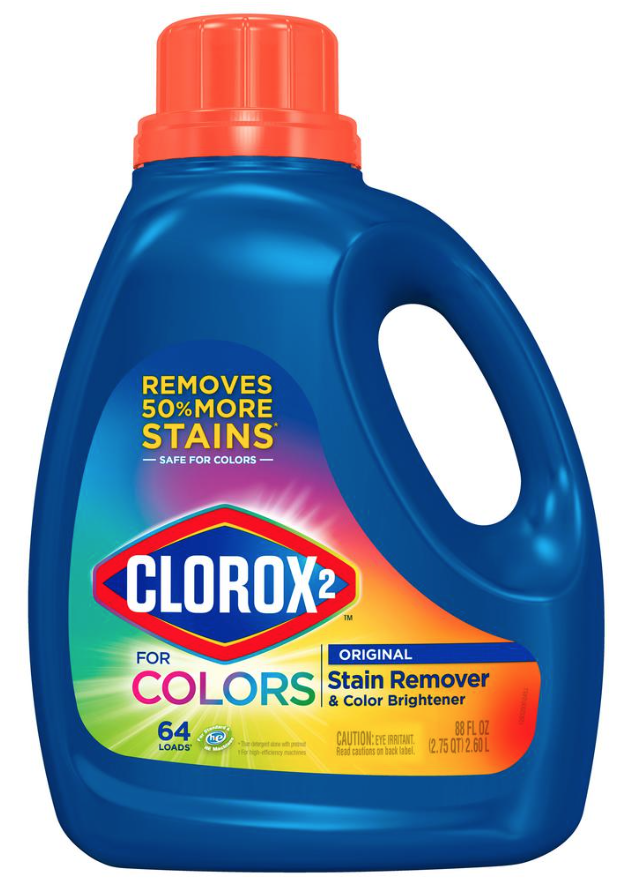  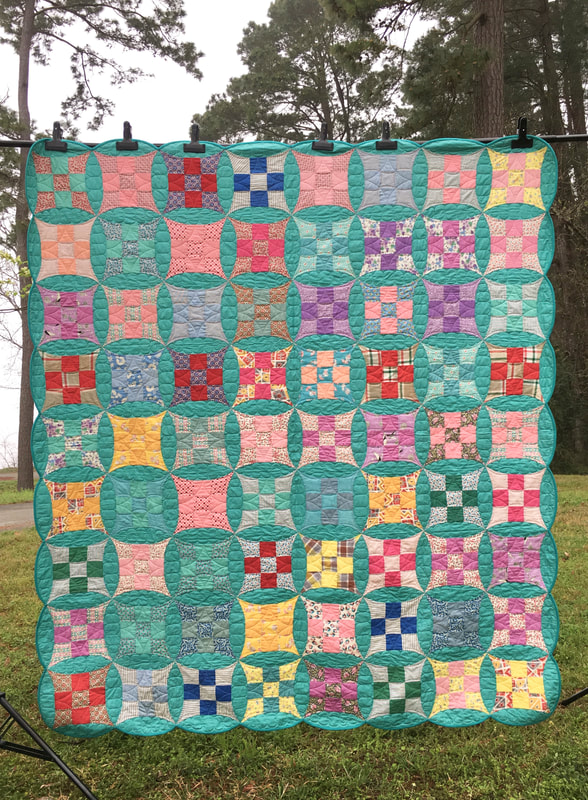 Friends from a local thrift shop called me when this beauty arrived. Someone dropped off their grandmother's unfinished quilt tops and blocks and I was blessed to get all of them! Ruler work created unintended secondary circle designs that are wonderful in these blocks. 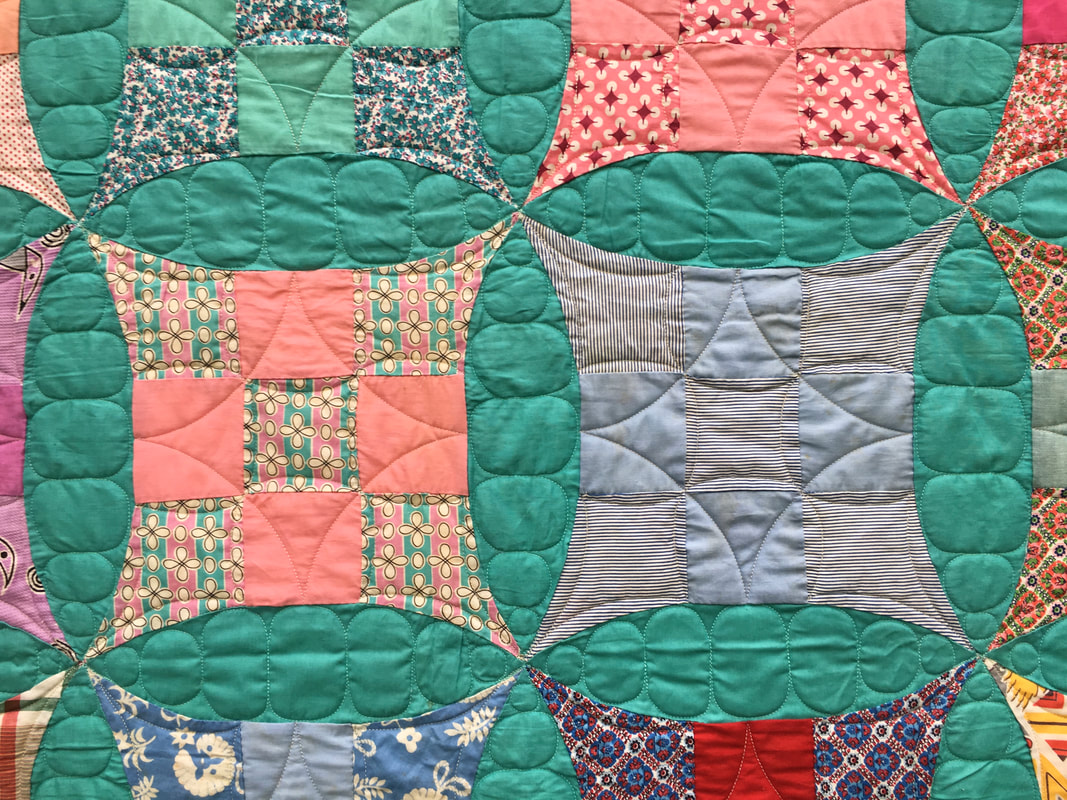 True feed sack and vintage fabrics complete this work of art. Blocks with newspaper templates that arrived with this top date back to WWII and even have articles specifically discussing the war. Amazing finds! 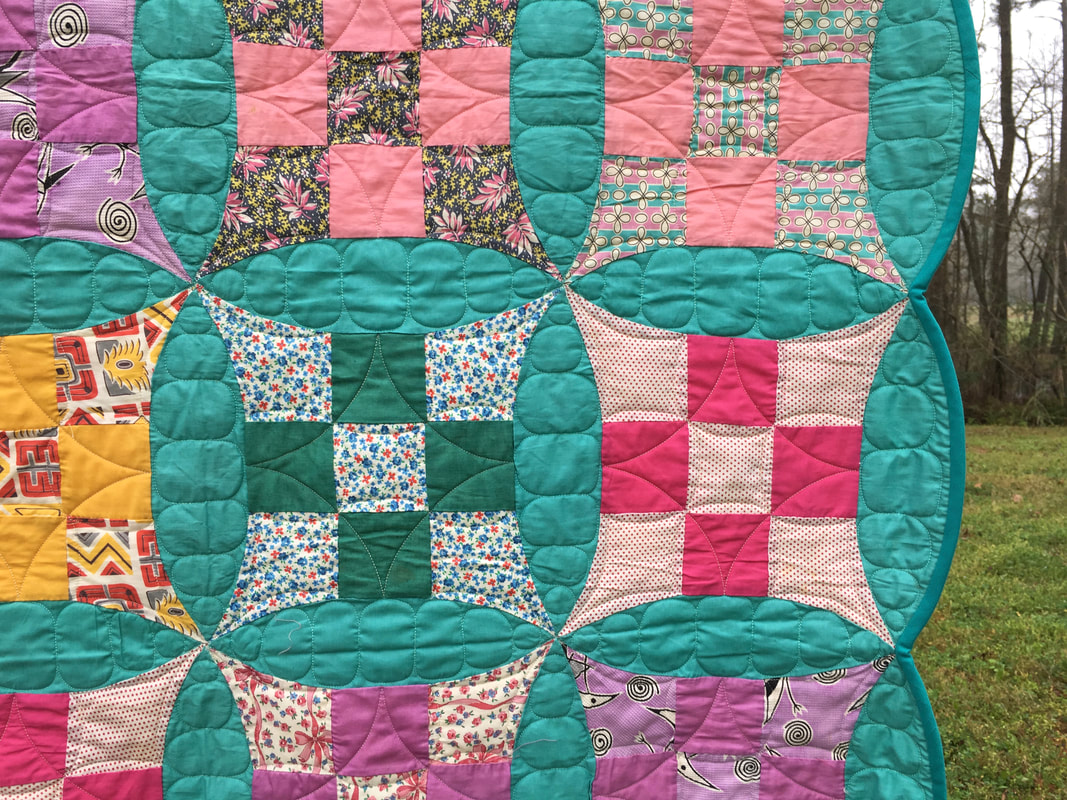 This is my first bias binding, and it was a lot easier than I thought it would be!
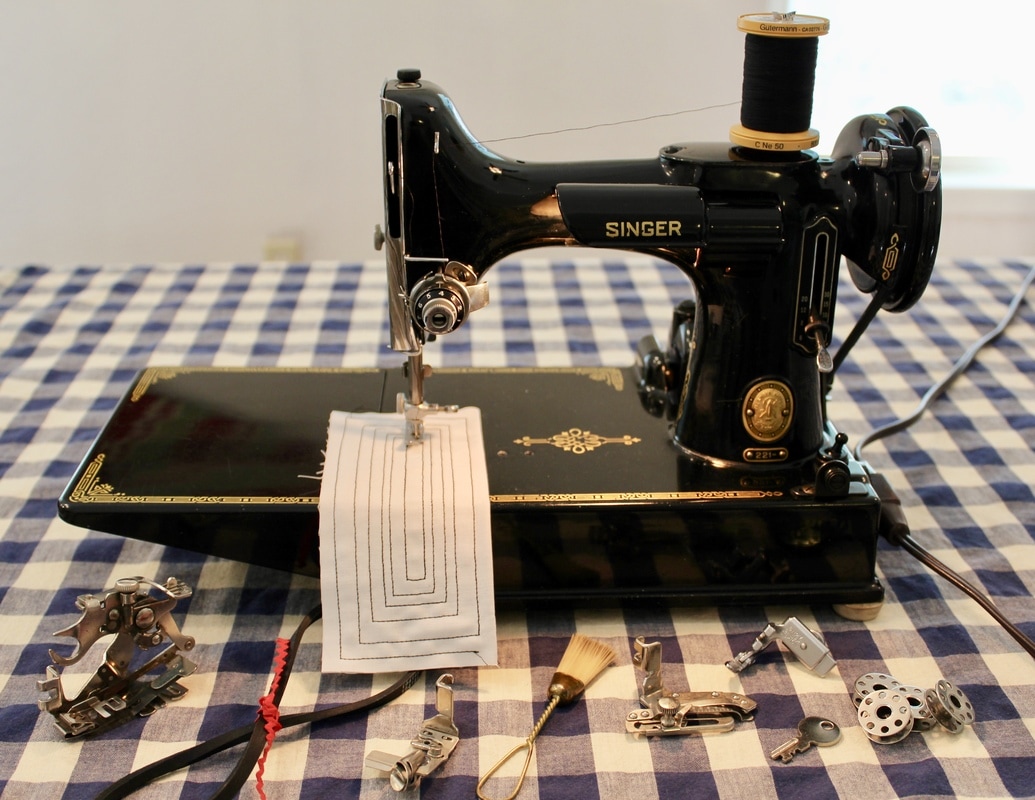
If your Featherweight isn't sewing as fast as you'd like for it to, try setting the hand wheel to wind a bobbin (to prevent needle motion) and running your blow dryer over the motor while the machine runs. It loosens buildup and you'd be amazed at how well it works!
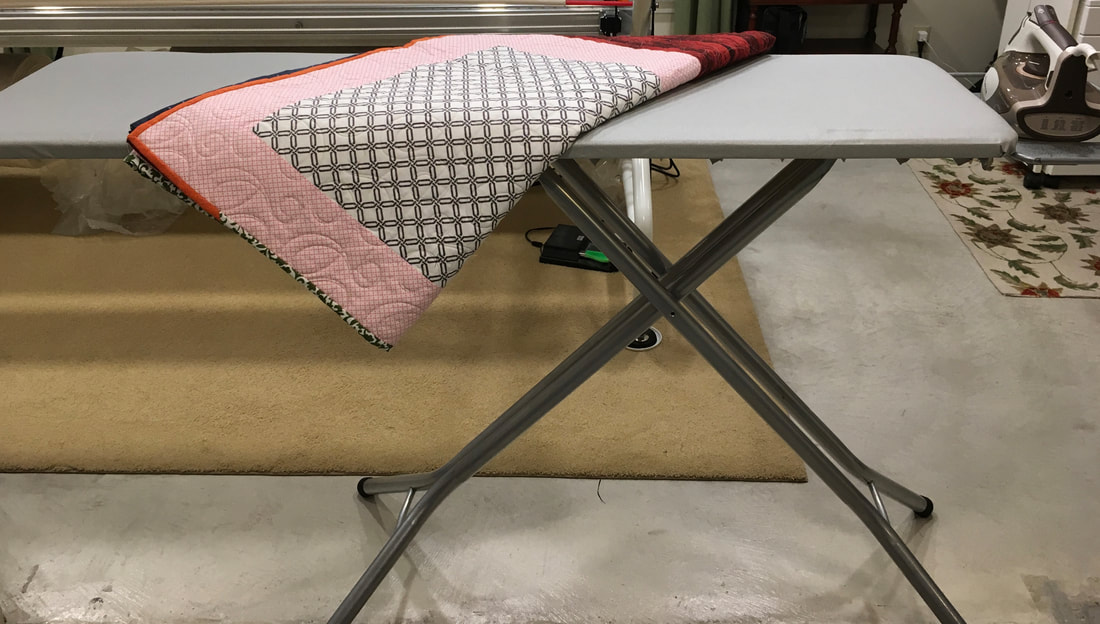
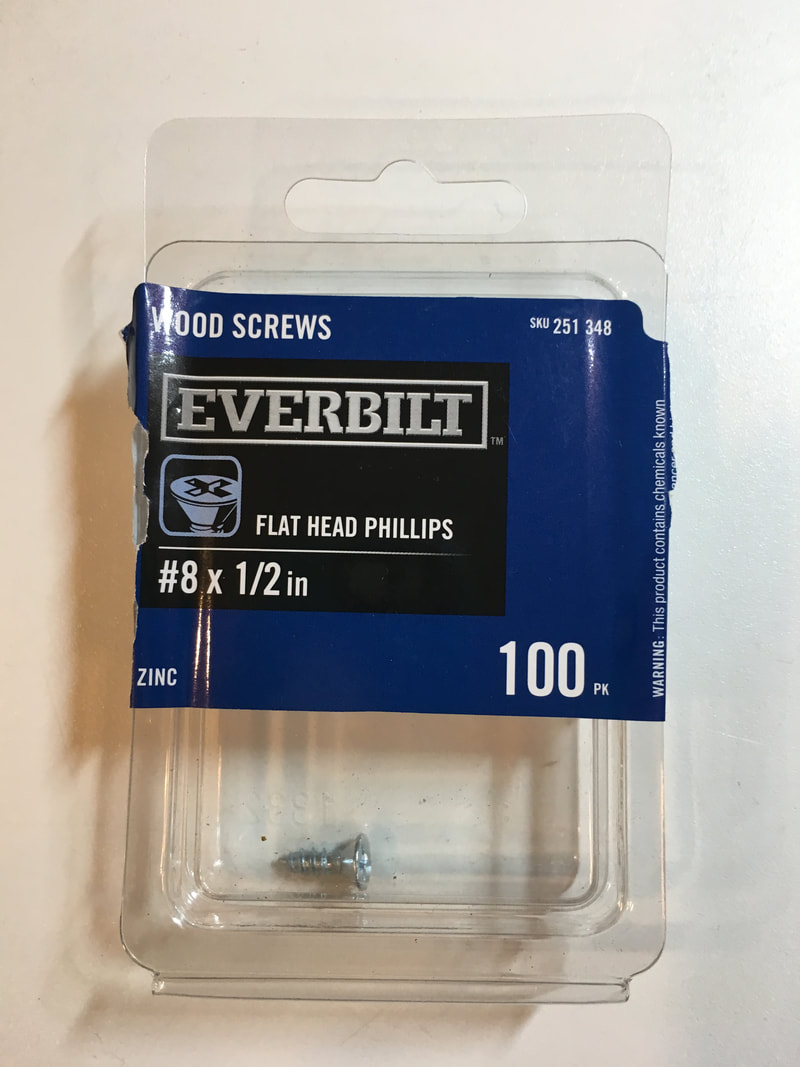
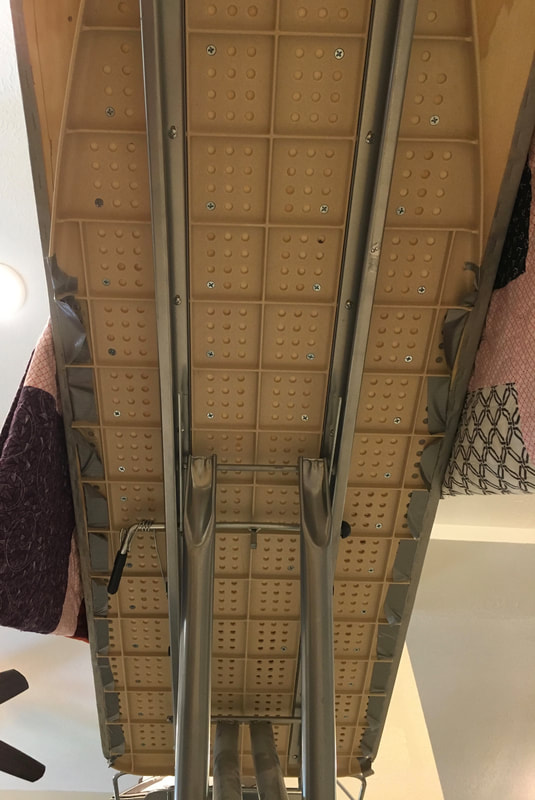
Quilter's Ironing Board - Easy DIY Instructions After searching online for instructions on transitioning my regular ironing board into a quilter's ironing board, I decided to get the necessities and work with what I had, and I'm happy to say it turned out perfect. Below are self-explanatory photos. The only instructions necessary are to make sure you cut the plywood sufficiently larger than the plastic top of your original plastic ironing board form and sufficiently smaller than your Bo Nash board cover -- you need to be able to staple the Bo Nash board cover to the bottom of the plywood. It's a 2 person job. A jigsaw was used to round the corners of the plywood and a skilsaw was used to narrow the edges of the original plastic ironing board form. My board measures 16.25" x 54.5", and having it has made ironing quilt fabric, backings and tops, immensely easier! Supplies: 16.25" x 54.5" piece of 3/4" plywood. Bo-Nash adhesive board cover (includes padding) Screws (see photo) Jigsaw (to round plywood corners) Skilsaw (only if you have to shave edges of original plastic ironing board top) Stapler (I used a household stapler and it worked fine)
 Voila!
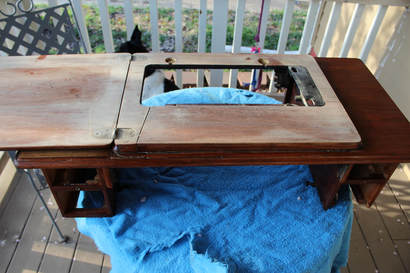
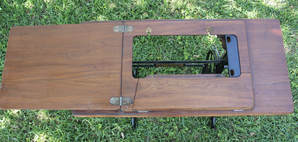
I'm delighted with the finished product! This machine arrived in such poor condition that I chose not to resale it without a total makeover. It was a lot of work to remove and replace all the parts to send it for paining, but in the end I was extremely happy with the outcome and the effort was worth it!
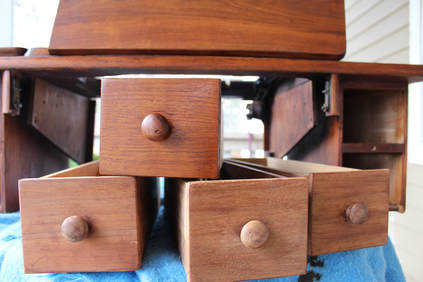
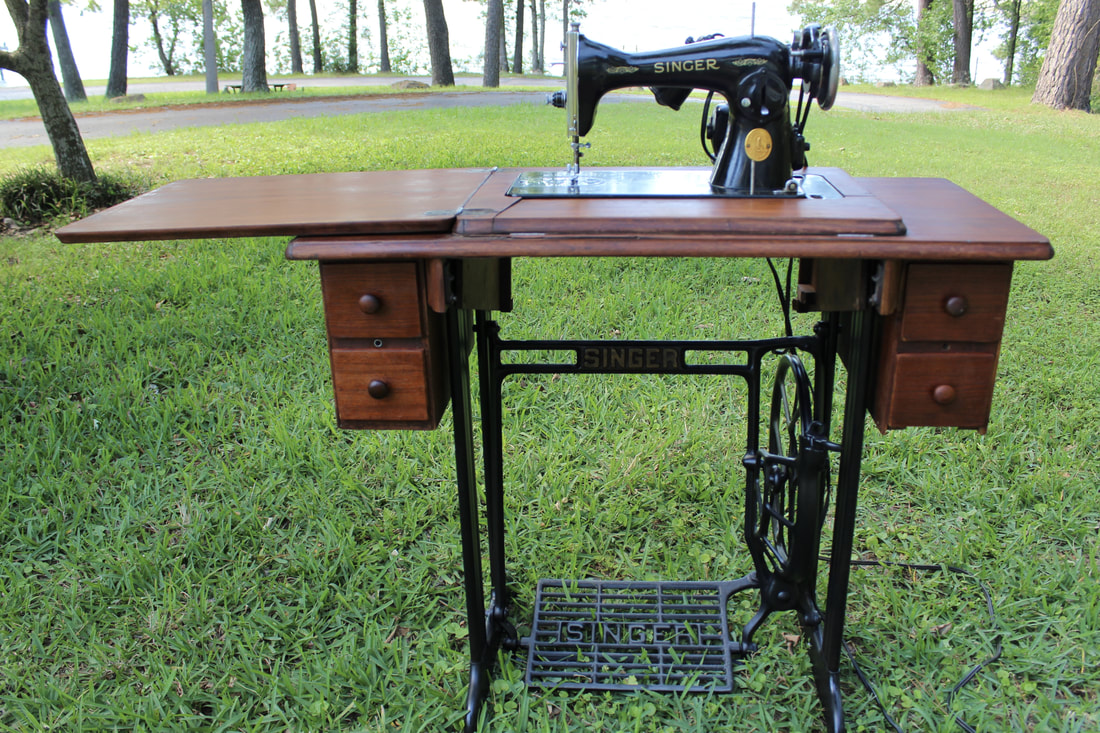 Old neglected treadles are fairly easy to find and usually inexpensive. This project only took about a week to finish. I worked on it daily for several hours at a time, and the results were incredible! Well worth the time and products purchased to complete.  Cabinet Supplies (in the order I used them): Rubber gloves Paint stripper if the cabinet has any paint on it Scraper Sand paper Minwax Gel Stain Boiled Linseed Oil applied after stain dried for luster
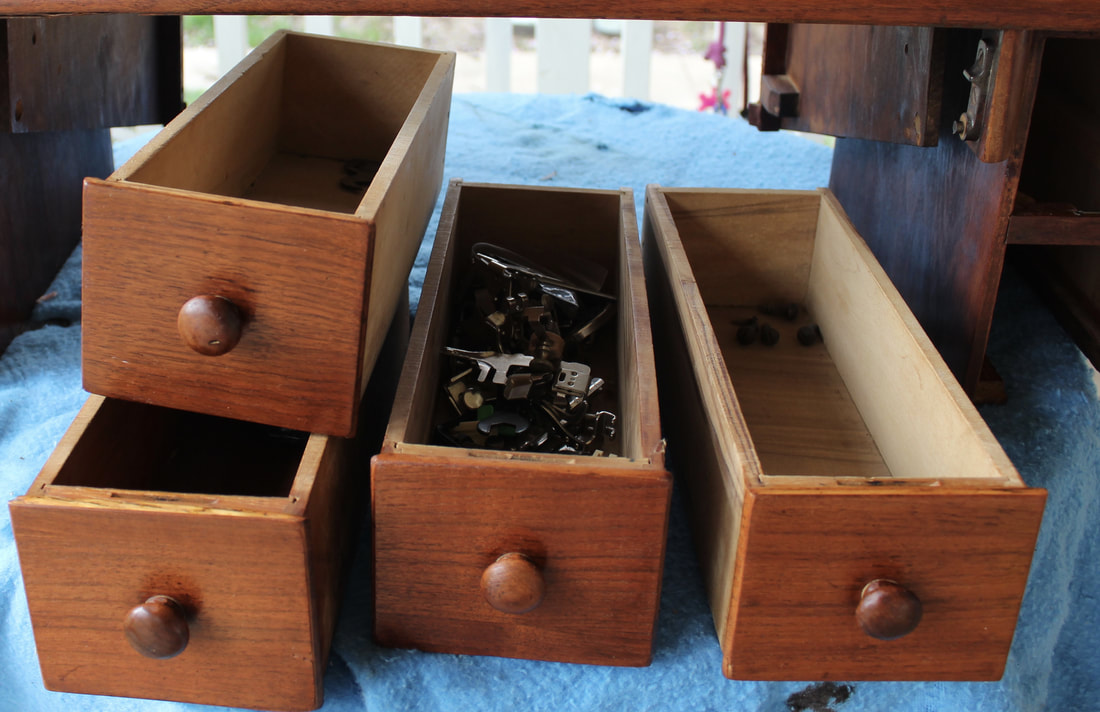
Treadle Supplies and Suggestions: Clean outside with a water hose and mild soap, let dry and follow package instructions to apply both of these products: Rust Converter and Primer (don't apply over any gold lettering) Spray Paint - I used gloss black 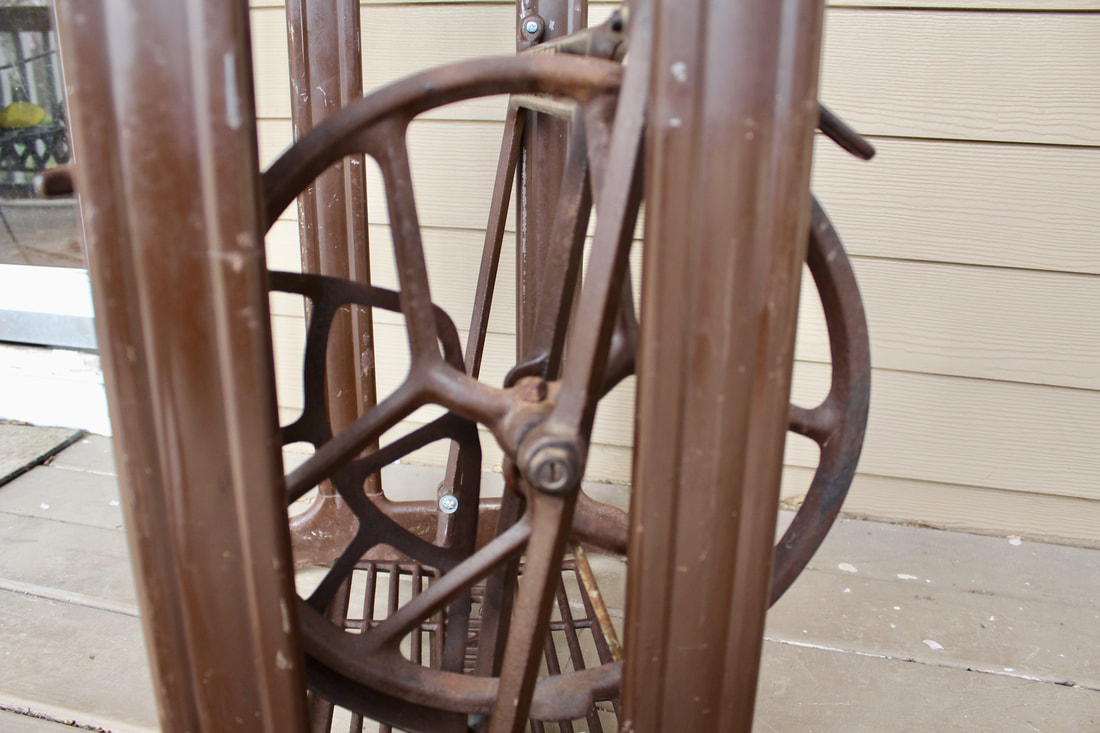 I preserved the gold "Singer" logo on the top center of the treadle by covering it with paper and a thin edge of painters tape around it to seal the area during spray painting. 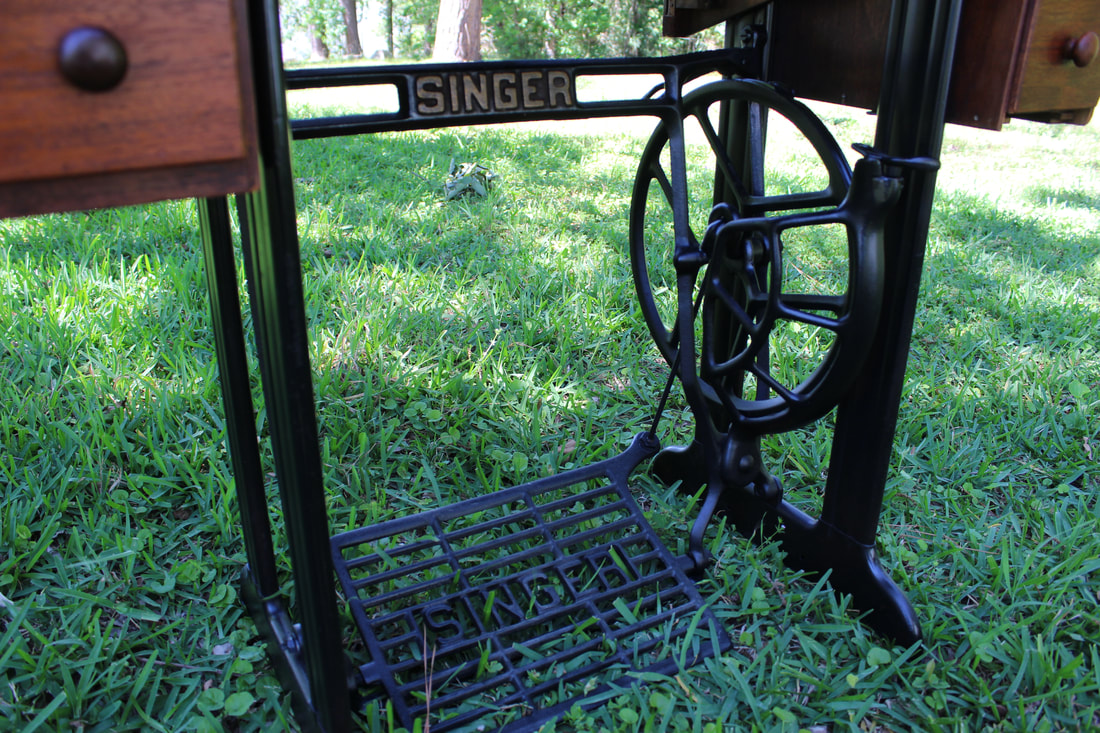 Sewing Machine Cleaning Supplies: Use kerosene in a dropper bottle to thoroughly clean off all old lubricant and oil on inside areas and gears. I used a small bottle brush, some q-tips and old t-shirts. The older, gear-driven machines I've worked on are all similar, and it's easy to find detailed video instructions online, so I won't duplicate the details here. I used very fine sand paper for slight rust on bobbin winder. Remove old lubricant from motor ports and apply new lubricant to motor and gears and oil as manual instructs. 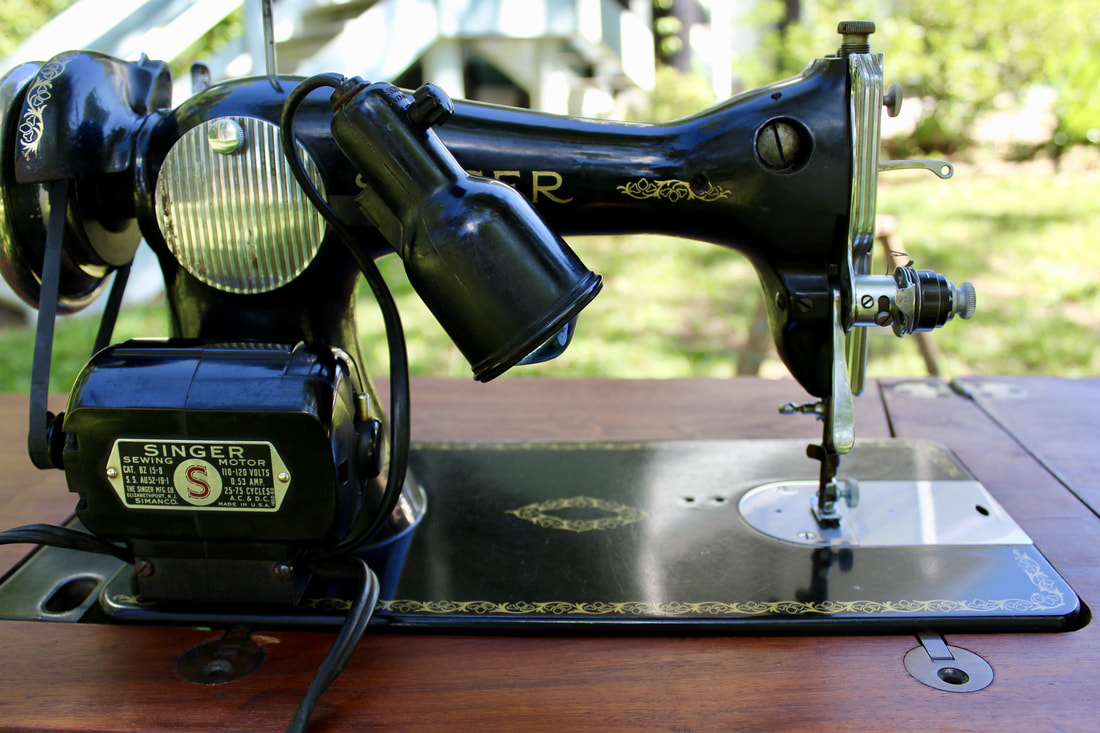 This treadle had a working motor and, believe it or not, a light bulb that I'm sure is environmentally toxic but delightful in that it's probably circa 1940s or 50s and still works! What a find in the small farm town of Cheney, Kansas!
 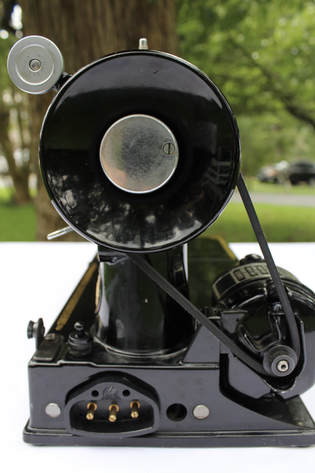 Featherweight Sewing Machine Belt Area If you're Featherweight motor has a slow start or sounds like it's working too hard to get going, don't assume something is wrong with the motor. Try loosening the motor screw and raising the motor until the belt is lose enough to grab and turn the hand wheel (but not so lose that it has trouble engaging). Beware of lower quality belts which can lead to frustrating issues with slipping.
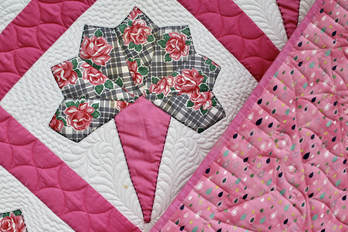
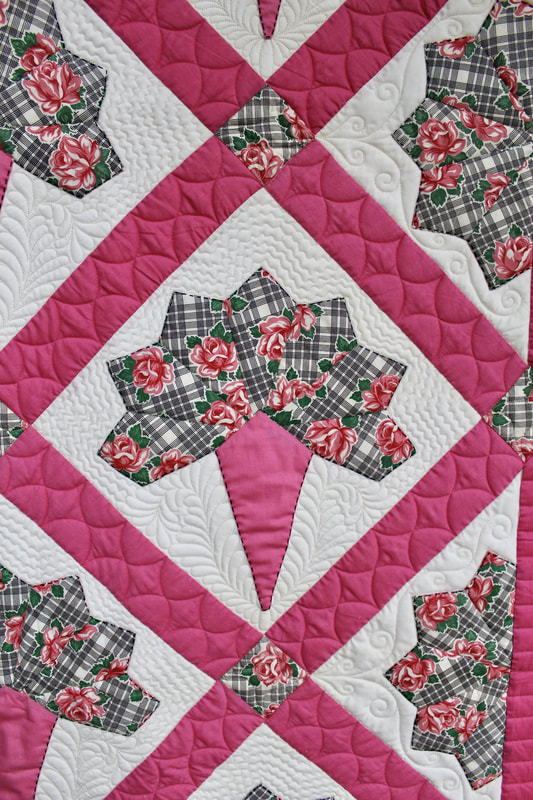
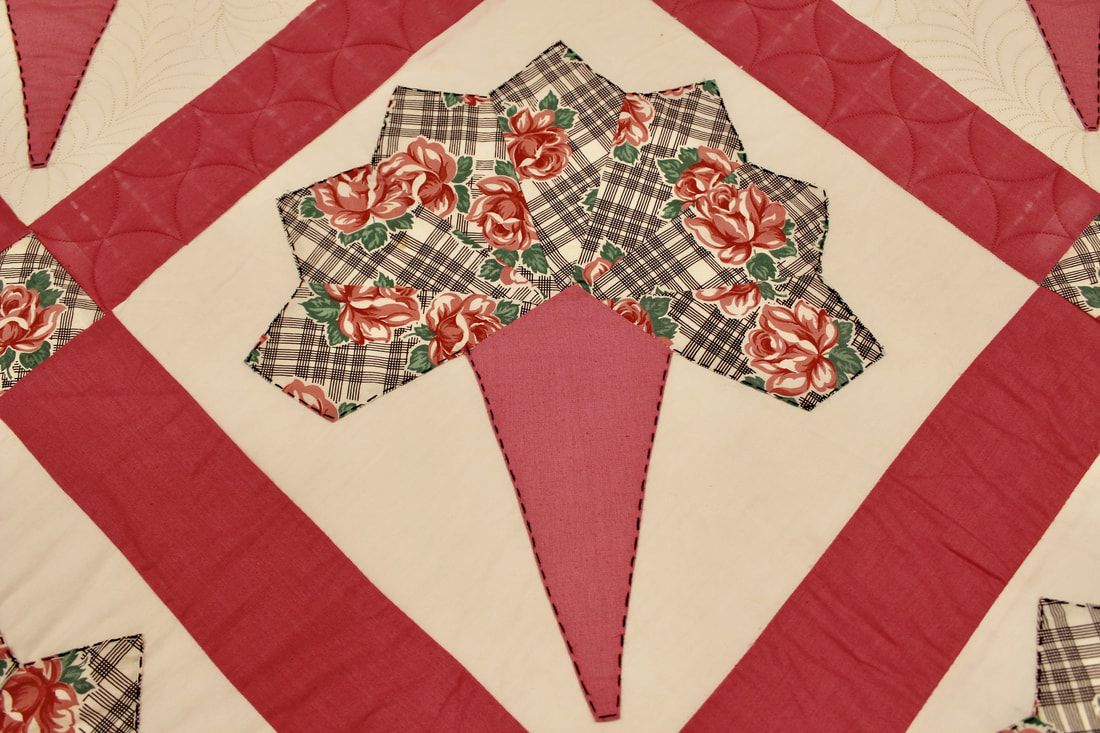
Choosing a design for an heirloom quilt can be daunting, but so rewarding! This vintage quilt was made by my Great Grandma Peveto circa 1930. The design is "nosegay," It was pieced entirely by hand and the bouquets are all hand appliqued.
The photo below demonstrates the transitions between heavy and light quilting designs. A double layer of batting was used to enhance the applique and all seams were ditch quilted. Approximately 80 hours were invested in this queen size quilt project -- very much worth the time! 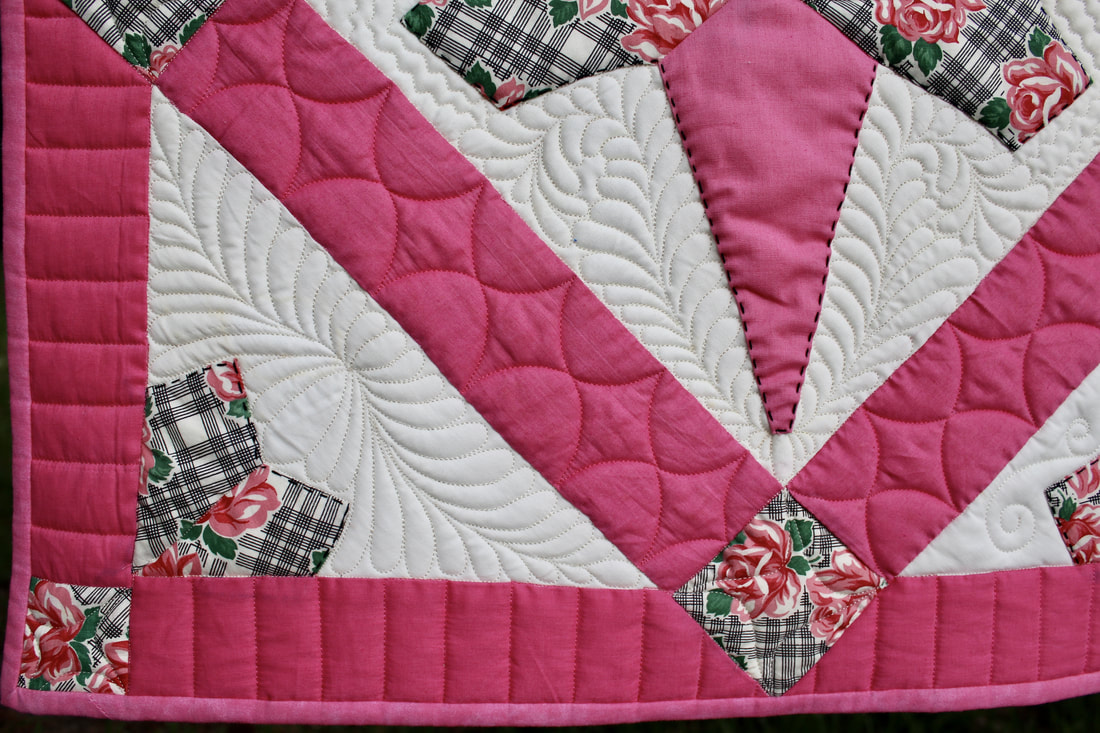 Custom quilted vintage top with varying designs and thread colors The back reminds me of ice cream cones and is its own work of art! 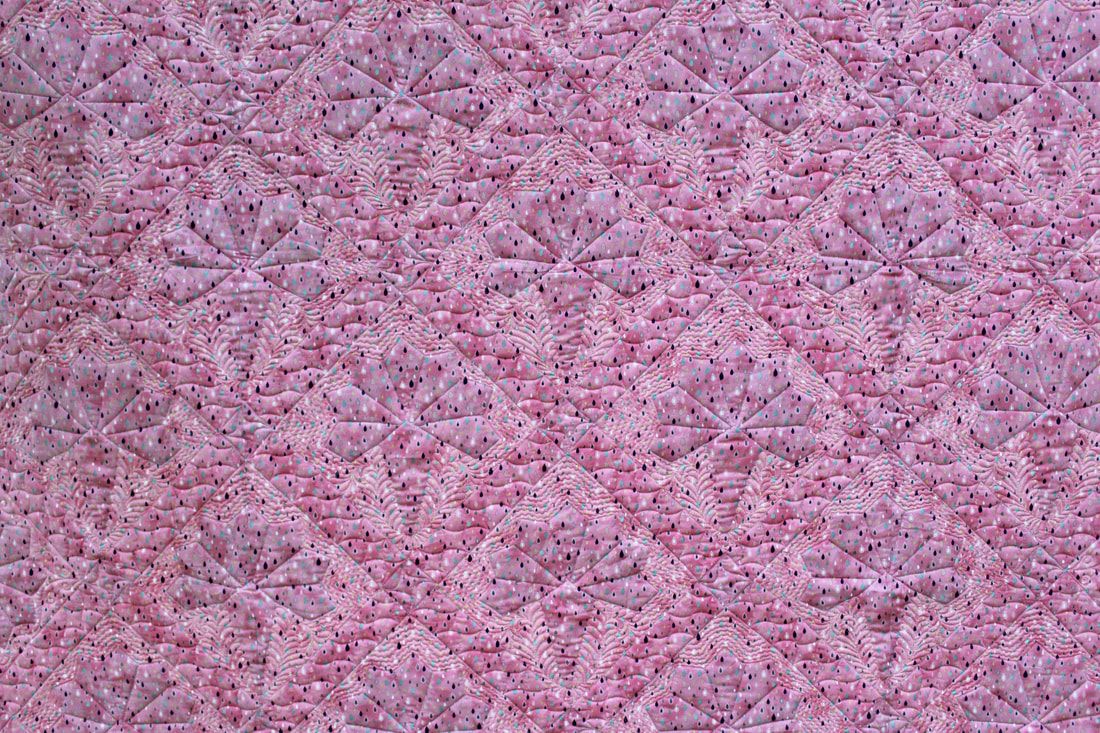 Custom quilting also turns backing into its own work of art! Custom quilting also turns backing into its own work of art!
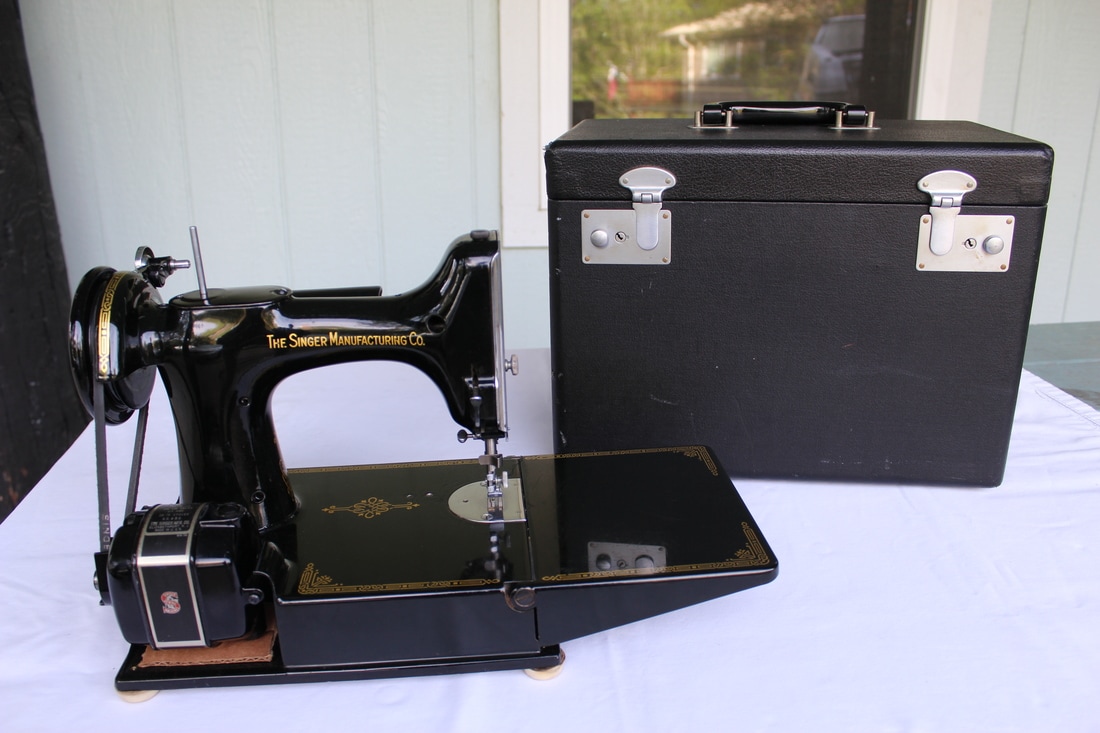
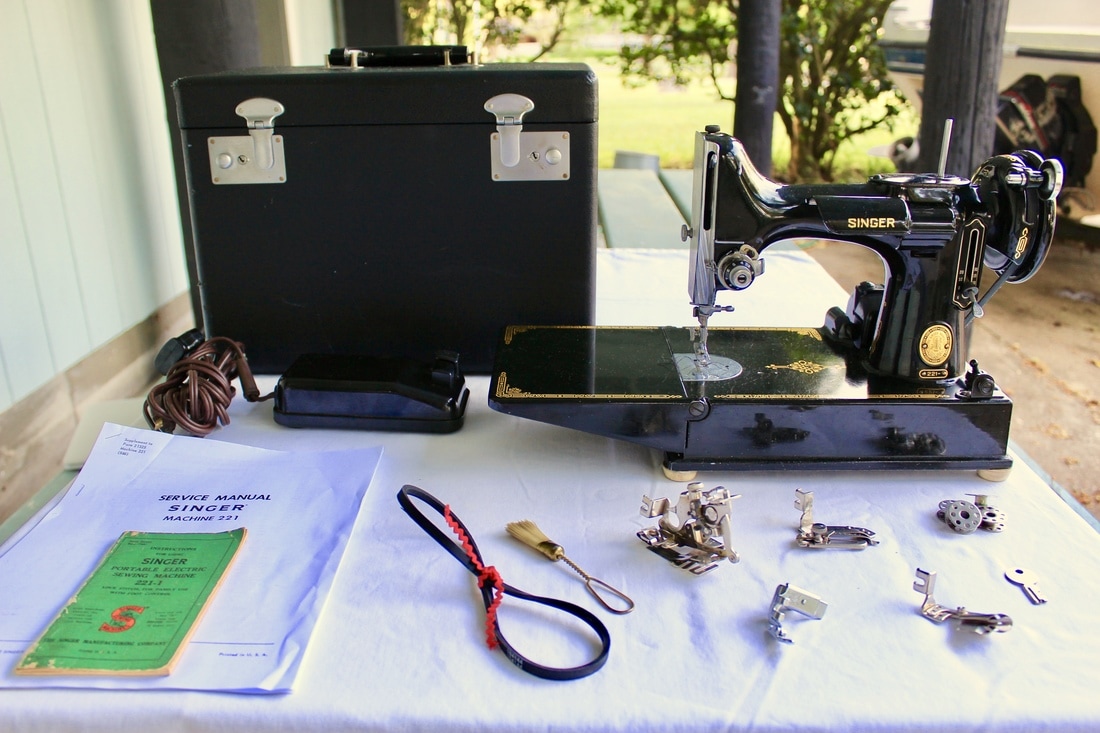
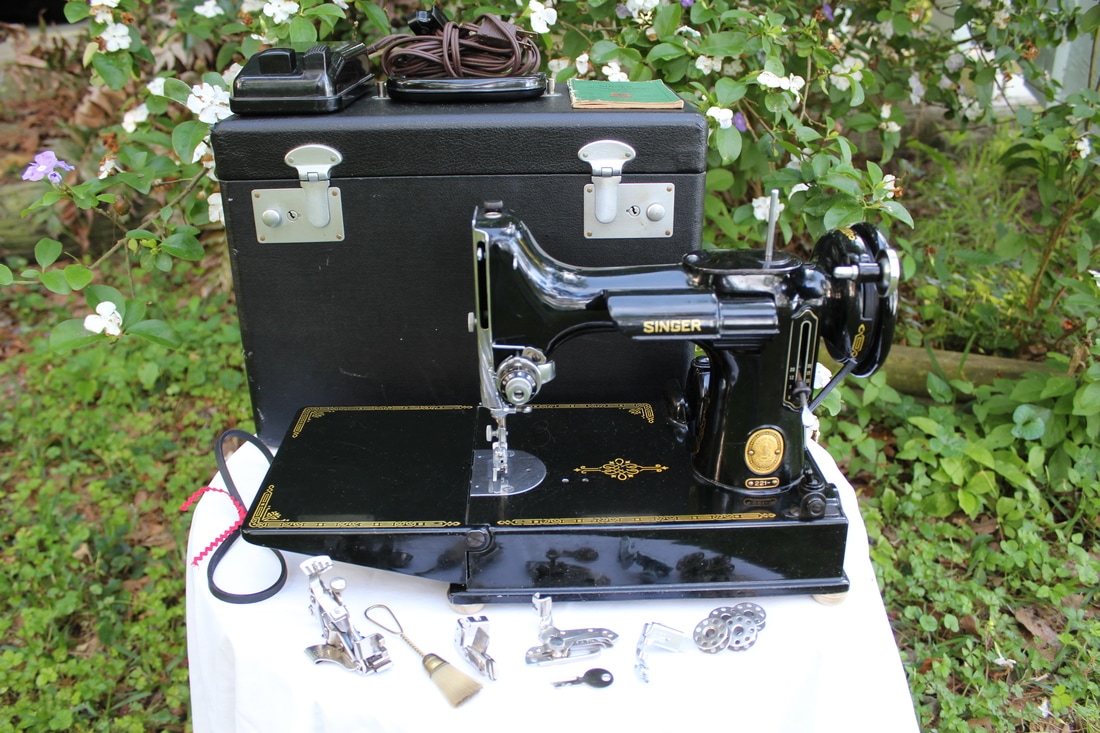 After discovering an interest in vintage machines mostly inspired by members at my local quilt guild, I bought a couple of Featherweights in Wichita, Kansas and Dallas, Texas. These machines are sturdy and easy to clean and repair if you're willing to invest the time and some $$ for supplies.
|
AuthorTamara Bobbitt Archives
July 2022
Categories
All
|

 RSS Feed