Foxtail Quilting: custom quilting, longarm services, t-shirt quilts, fabric, battings
  • Home
  • About
  • Longarm Services
    • Pantograph Gallery
    • Custom Design Gallery
    • Top and Backing Prep
  • T-Shirt Quilts
    • Traditional Style
    • Variable Style
    • Texas T Shirt Quilt
    • Modern Style
    • T Shirt Quilt Reviews
    • Memory Quilts & Pillows
  • Contact
  • Shop Here
  • Blog

December 01st, 2018

12/1/2018

2 Comments


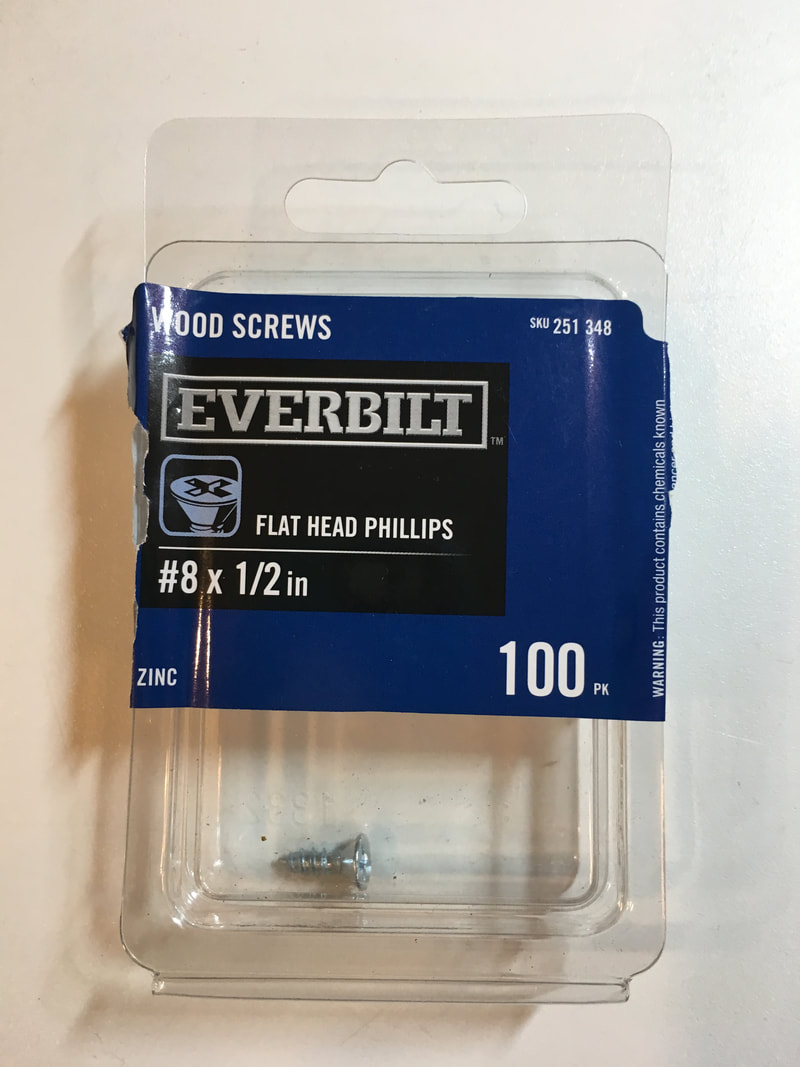
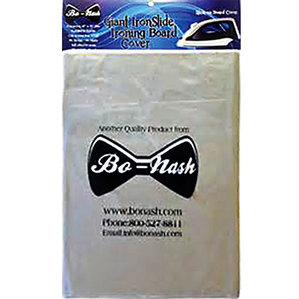
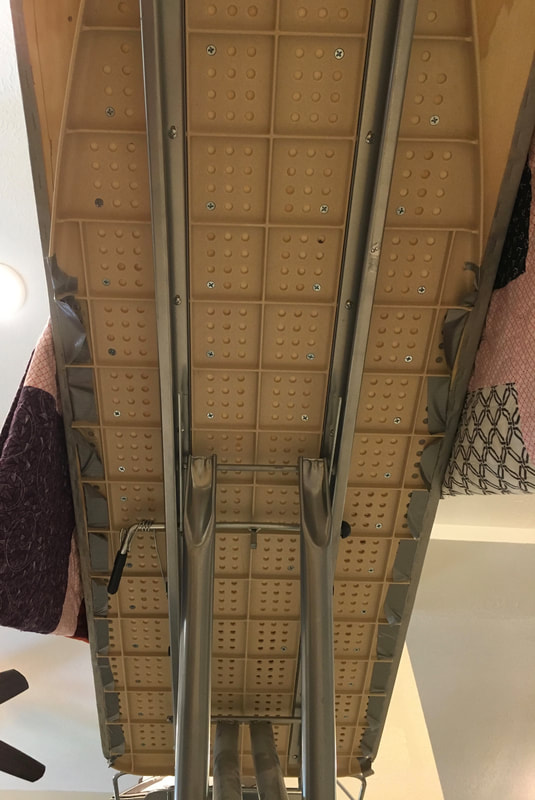
Quilter's Ironing Board - Easy DIY Instructions

After searching online for instructions on transitioning my regular ironing board into a quilter's ironing board, I decided to get the necessities and work with what I had, and I'm happy to say it turned out perfect.

Below are self-explanatory photos. The only instructions necessary are to make sure you cut the plywood sufficiently larger than the plastic top of your original plastic ironing board form and sufficiently smaller than your Bo Nash board cover -- you need to be able to staple the Bo Nash board cover to the bottom of the plywood.

It's a 2 person job. A jigsaw was used to round the corners of the plywood and a skilsaw was used to narrow the edges of the original plastic ironing board form.

My board measures 16.25" x 54.5", and having it has made ironing quilt fabric, backings and tops, immensely easier!

Supplies:
16.25" x 54.5" piece of 3/4" plywood.
Bo-Nash adhesive board cover (includes padding)
Screws (see photo)
Jigsaw (to round plywood corners)
Skilsaw (only if you have to shave edges of original plastic ironing board top)
Stapler (I used a household stapler and it worked fine)
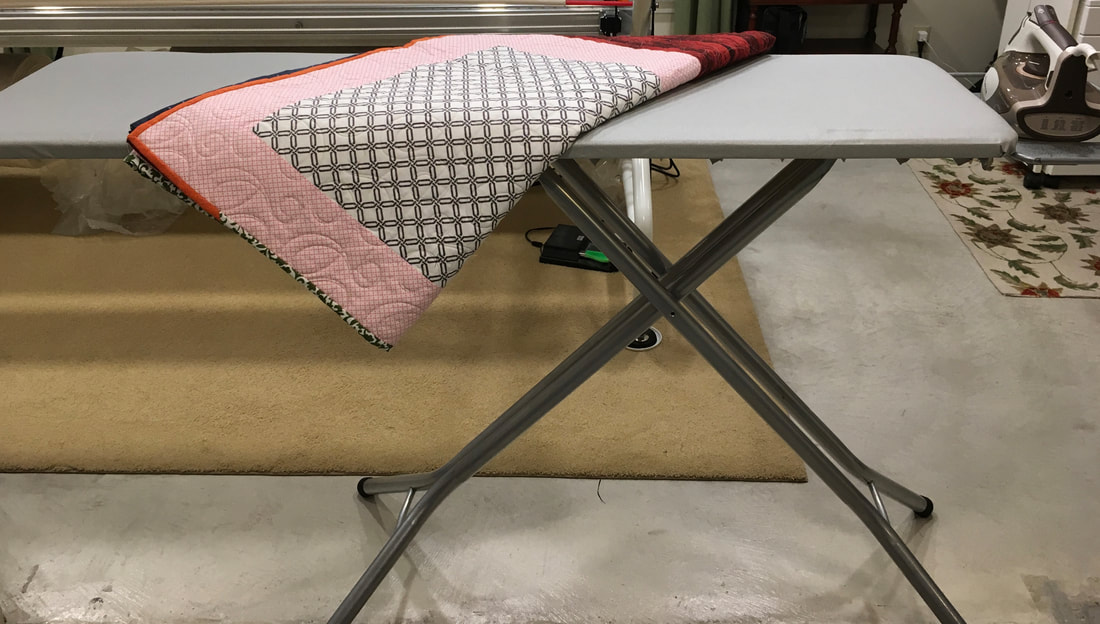
Picture
This is the size screw I used because it fit the holes in my ironing board's plastic base perfectly.
Picture
If you buy this new cover, you won't have to cut down your original ironing board's plastic foundation: Ironslide 2000 Giant Cover29x65
6002 Bo Nash
Contact Foxtail if you'd like to order!
Picture


This is the underside of my new ironing board. We cut the plastic slightly smaller than the plywood, and since I didn't buy the "Giant Cover" above, we had to use a skilsaw to make the plastic narrower. Not wanting to sand down the edges, I put duct tape over the rouge edge so fabric won't catch on it. Ugly? Maybe so, but incredibly functional, and I never look underneath it!
Picture
Voila!
​I'm delighted with the finished product!

2 Comments

    Author

    Tamara Bobbitt
    ​Foxtail Quilting

    Archives

    July 2022
    November 2020
    April 2019
    January 2019
    December 2018
    November 2018
    October 2017
    August 2017
    July 2017
    April 2017

    Categories

    All
    Quilter's Ironing Board Easy DIY
    Quilt Stain Removal
    Singer Featherweight
    Singer Treadle
    Vintage Quilting

    RSS Feed

Home

About

Longarm Services

T SHIRT QUILTS

Contact

shop here

BLOG

Foxtail Quilting, 214 Woodland Dr., Trinity, Texas 75862
info@FoxtailQuilting.com
713.301.2459
  • Home
  • About
  • Longarm Services
    • Pantograph Gallery
    • Custom Design Gallery
    • Top and Backing Prep
  • T-Shirt Quilts
    • Traditional Style
    • Variable Style
    • Texas T Shirt Quilt
    • Modern Style
    • T Shirt Quilt Reviews
    • Memory Quilts & Pillows
  • Contact
  • Shop Here
  • Blog